|
How to draw features |
|
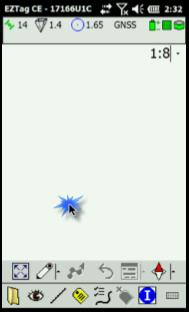
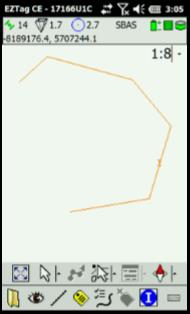
The point feature drew will then be displayed in the Plan View.
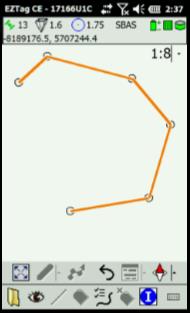
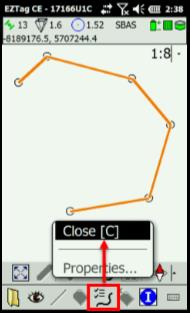
If the feature is a polyline (line or polygon) only the first polyline vertex will be displayed after entering all attributes. To continue drawing the polyline, simply click or tap on the Plan View to enter additional polyline vertices. To erase the last vertex drew, click on |
|
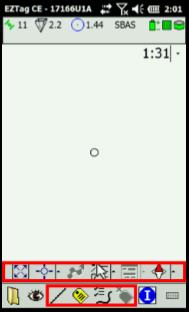
As opposed to collecting GNSS features, features can be drew on your background maps. The drew features will get its position from the area picked by the user on the Plan View. In order to draw features, you must Start a Survey with File > Start Survey. Once a survey is started, the GNSS Survey Toolbar is displayed and allows to collect or draw GIS features. |
|
The first icon (
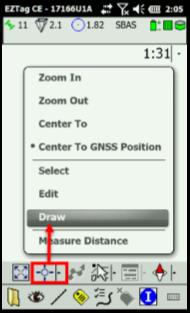
From the Plan View Toolbar, click on the second icon and select Draw. You can then draw the selected features by locating it on the map Plan View. The moment you start drawing the features, you will be asked to enter its attributes. |
|
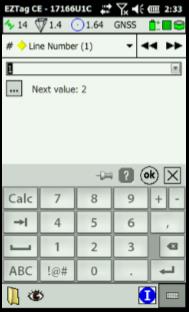
You can navigate trough the feature’s attributes with the dropdown list The first attribute When entering an attribute, you can define it as the new default value by clicking on Once all Attributes have been entered, click on |
|
Article: 000140 Related Products: EZTag CE Last Update: 2017-06-22 16:23:01 |
|
Document information |
|
|
|
Plan View Toolbar |
|
GNSS Survey Toolbar |